Kitchen
How to Lay Tile in a Bathroom or Kitchen
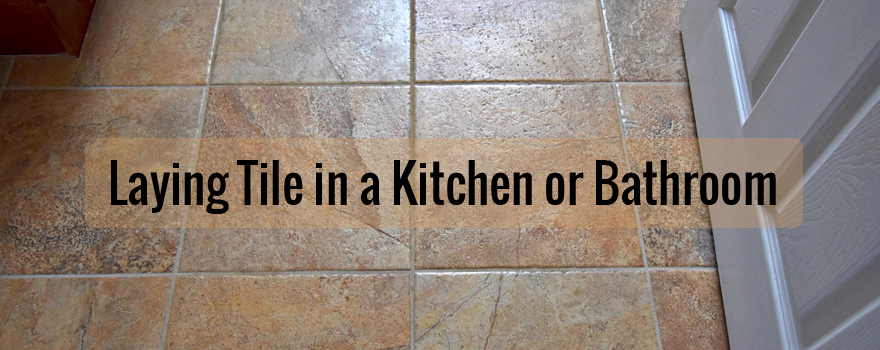
Today, we are going to look into how to lay tile in a bathroom or kitchen. While it may seem like a difficult task for most, if you follow these steps, your inner do-it-yourself-er can get the task done! As with most remodeling projects, you might want to check in with your local city or town ordinances as to prevent any problems down the line.
First Steps: How To Lay Tile
First things first. Before we can get to laying any tile in our bathroom or kitchen, you need to make sure all of the previous flooring is removed. Once it is all removed, be sure the subfloor is level, clean and ready to be resurfaced. This is the most important step as the new floor will crack if the subfloor isn’t level.
Once the floor is ready to go, you are going to place unmodified mortar to the existing concrete. This will give the subfloor a fresh and smooth new base. If you are laying tile on a subfloor that is wood, first put down a layer of cement backer board. After the mortar is down, lay a flexible membrane underlayment. This will provide a strong foundation and help to protect the subfloor from water damage.
Once the underlayment is down, start measuring out how the tile is going to lay. The easiest way I have found is to mark the center of two opposite walls with a piece of chalk. And then do the same with the other two walls to form a cross. Next, we are going to lay the tiles we want to use down across each of the two lines and see how they look. You want to be sure to use spacers to get an accurate portrayal and keep it even throughout.
Get the Job Done
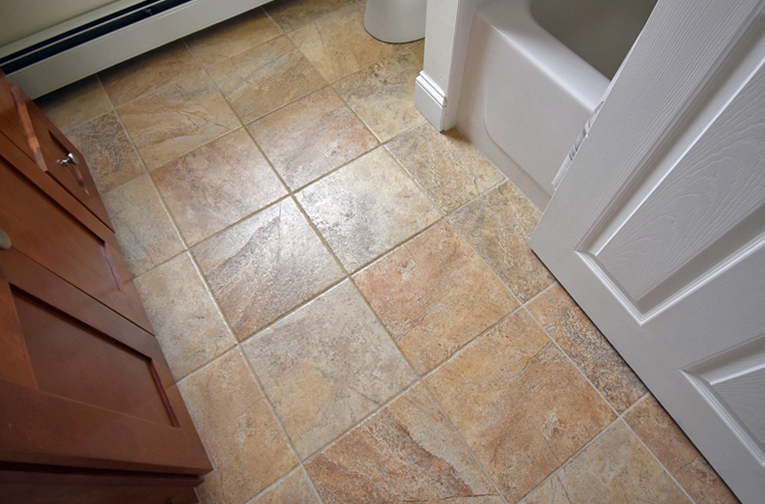
Now that there is an even design with the tiles you want to lay down, it’s time to get to work. You’re going to mix and lay down some unmodified thinset mortar to the underlayment. Begin to lay the tile to the mortar. Be sure to place spacers in between while working in small sections. Once you are done with this process, the next step is to grout. You want to wait 24 hours in between laying the tile and grouting the floor to let it cure. Remove any excess grout and let it sit for a few days before walking on it. It will take a full 2 weeks to dry and then we can put on our grout sealer.
As you can see, it can be quite a lengthy project for the casual weekend warrior, but it is certainly doable if you’re up for the task! You want to be sure to have all tools necessary before diving in so you can get the best results. When you’re ready to give it a try, be sure to stop by a Builders Surplus near you and take a look at our extensive tile selection.
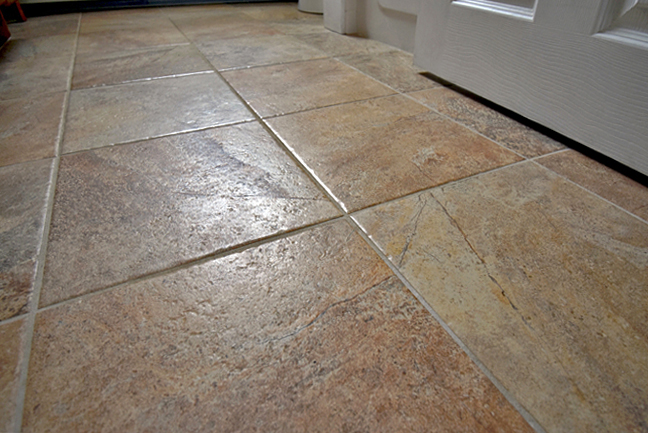
Be sure to let the grout dry before adding the grout sealer and walking on the new floor.