Interior
Quick and Stylish Shiplap Paneling Ideas for Walls
Shiplap Paneling: The Ultimate Guide to Stylish Walls & DIY Installation
TLDR:
- Shiplap paneling instantly elevates interior wall decor, lending a touch of rustic charm or modern elegance.
- From accent walls to full room coverings, shiplap adds depth and character.
- DIY-friendly installation makes it an achievable project for most skill levels.
- Explore a variety of shiplap styles: natural wood finishes for warmth or painted surfaces for a contemporary look.
- Shiplap works beautifully in numerous spaces, such as living rooms, bedrooms, and even bathrooms with proper treatment.
Shiplap paneling has quickly moved from being just a farmhouse favorite to an adaptable part of interior wall decor. This popular design trend brings a nice mix of rustic charm or modern style to any room. Whether you want an accent wall that grabs attention or want to fill your whole home with warmth and personality, shiplap paneling is a great choice. It blends style and function well. Let’s look at creative ideas and handy tips for adding this home decor item to your space.
Looking for more tips or need high-quality materials? Visit Builders Surplus for expert advice and products, or call 866-739-1636. We’ll help bring your dream home to life!
Transforming Spaces with Shiplap Paneling
One great thing about shiplap paneling is that it is versatile and can be used in many ways. These wood panels can easily change the look of a room. They add texture and make spaces more interesting. Shiplap fits nicely into different styles like modern, minimalistic, and eclectic.
A common way to use shiplap is by making an accent wall. This design choice grabs attention and makes the room feel deeper. You can add shiplap to your living room, bedroom, or even a hallway. This project is easy enough for people to do on their own, so even beginners can try it.
Enhancing Small Spaces with Strategic Shiplap Placement
In smaller rooms or apartments, using shiplap wisely can really help. Instead of filling the space with too much wood paneling, think about these creative ideas:
- Behind a Sofa: Put shiplap on the wall behind your sofa to make your living room feel cozy. This will help to keep your furniture in place and define the area.
- As a Headboard Substitute: Shiplap can bring warmth and texture to the bedroom. Install it flat against the wall behind your bed for a fun alternative to a regular headboard.
- Sound Absorption: Shiplap can also work as a sound absorbing-panel. Placing it in spots like hallways or dining rooms can prevent echoes and create a softer atmosphere.
Try using shiplap in different ways to see what looks best in your space. Installing it vertically can make the room feel taller, and placing it horizontally can make it look wider. You can even install it on your ceiling.
DIY Shiplap Installation
If you are new to DIY, shiplap installation is a good place to start. There are many resources and products available to make it an easy project.
Before you start, measure your wall space carefully to determine how many planks you need. Get a good level and stud finder to help keep your installation straight and secure. When you attach the planks, consider using construction adhesive along with nails. This will strengthen your installation.
Step-by-Step Guide to Installing Shiplap Walls
Ready to create your own shiplap masterpiece? Follow these easy steps for a smooth installation:
- Prepare the Wall: Start by cleaning the wall well. Remove any dust, dirt, or old wallpaper. Fix any flaws to make the surface smooth and even.
- Plank Placement: Begin installing your planks in a corner or at a spot that will be seen first. Use a level to attach the first shiplap plank to the wall studs. You can use nails or adhesive strips. For a more rustic look, choose planks with different wood grain patterns.
- Maintain Consistent Spacing: Use spacers to keep even gaps between each shiplap plank. This will give you the classic shiplap style. Keep putting up the planks, making sure each is level and secure. Once you are done, fill any exposed nail holes with wood filler and sand them smooth.
Remember to measure twice and cut once, especially when using power tools.
High-Quality Materials for Less at Builders Surplus
Shiplap paneling is a fast and stylish way to transform your living spaces. By placing shiplap in the right spots, you can improve the look of small areas and make them feel cozy. Even beginners can easily install shiplap, which adds charm to any room. You can choose between real wood or composite shiplap, making it great for everyone, no matter their skill level. To get the look you want, consider the best paint finish for your walls.
At Builders Surplus, we carry clear and primed shiplap, a type of wooden board commonly used in the construction of barns or sheds. It has the rustic charm of reclaimed wood, and many designers and homeowners are using shiplap to create texture and add visual appeal. Shiplap can be used on walls or ceilings in any room to add interesting texture throughout your home.
Call 866-739-1636 or visit your nearby store to check availability or ask about any of our home improvement products. We are happy to help!
Enjoy the timeless charm of shiplap and update your space today.
Frequently Asked Questions
Can shiplap be used in high-humidity areas like bathrooms?
Yes, you can use shiplap in areas with high humidity, like bathrooms, if you seal and ventilate it properly. It looks stylish and is also durable. Think about using marine-grade sealant to get better protection from moisture.
What’s the best paint finish for shiplap walls?
For a long-lasting finish that is simple to clean, pick satin or semi-gloss paint. These types can handle humidity well. They also show fewer flaws than flat paint.
Is real wood or composite shiplap better for a DIY project?
Composite shiplap is better for DIY enthusiasts. It comes ready to use and is more consistent in size. Real wood looks more natural but usually needs extra work for preparation and finishing.
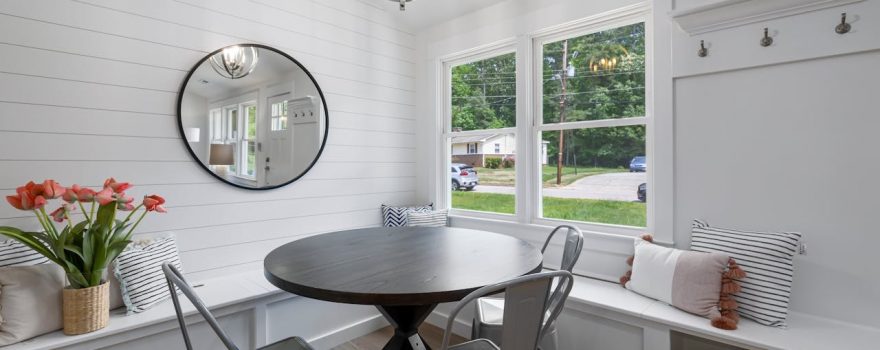
Photo by Curtis Adams