Outdoors
Build a DIY Outdoor Sectional for Your Ultimate Outdoor Relaxation
Transform Your Outdoor Space With a DIY Outdoor Sectional
Building a DIY outdoor sectional can be a game-changer for anyone looking to enhance their patio or outdoor space without breaking the bank. By taking on this project, you can create a comfortable and stylish seating area perfect for relaxing, entertaining, or enjoying family time.
If you want a quick overview for creating your own DIY outdoor sectional, here are the main steps:
- Plan your design: Consider your space, and choose materials and cushions.
- Select the right wood: Opt for durable, moisture-resistant options like cedar or redwood.
- Gather tools and materials: Get the necessary tools, screws, and wood glue.
- Build the frame: Measure, cut, and assemble the base and back.
- Add finishing touches: Sand, stain, and seal to protect your creation.
This project is ideal for those who love home improvement and want to add a personal touch to their outdoor furniture collection. You’ll find that making your own sectional not only provides you with a custom piece tailored to your specific needs and style but also saves a significant amount of money compared to store-bought options.
Planning Your DIY Outdoor Sectional
Design your DIY outdoor sectional by taking inspiration from countless online plans and customization tips. Consider comfort, durability, and aesthetics. Whether you choose a modern, rustic, or traditional style, the possibilities are endless.
Need materials at a great price? Shop Builders Surplus today or call us at 866-739-1636 to get started!
Ready to get started? Let’s dive into the planning phase!
Planning is crucial for building a DIY outdoor sectional that fits your space and style perfectly. Let’s break down the key considerations, starting with the wood and cushions.
Choosing the Right Wood
It’s important to choose wood that is both affordable and easy to find. Most types of wood can be treated to make them suitable for outdoor use.
Regardless of the wood you choose, treating it with paint or sealant is essential. This will protect the wood from the elements and extend the life of your sectional. Here are some options:
- Paint: Covers the entire surface and hides the wood’s natural look. Great for a uniform color.
- Stain: Soaks into the top surface, enhancing the wood’s natural beauty. Needs less prep work compared to paint.
- Sealant: Adds an extra layer of protection. Especially useful for high-moisture environments.
Remember to prepare the wood properly before applying any paint, stain, or sealant. Sand the surface and clean it thoroughly to ensure the best adhesion.
By choosing the right wood and treating it correctly, your DIY outdoor sectional will be both beautiful and long-lasting.
For example, cedar not only looks good but also has natural oils that repel insects. Teak is often considered the gold standard for outdoor furniture due to its longevity and weather resistance.
Reclaimed Wood
Using reclaimed wood leftover from your home reno project can add character and sustainability to your design. It’s eco-friendly and often comes with a unique history. Just ensure the wood is treated and sealed properly to withstand outdoor conditions.
To see what types of wood are in stock, visit your nearest Builders Surplus location and explore our wide selection.
Selecting Cushions
Cushions are essential for comfort and style. When picking cushions for your DIY outdoor sectional, you have two main options: standard sizes and custom cushions.
Standard Sizes: These are easier to find and often more affordable. You can get them at many stores in various sizes and styles, making it easy to find something that fits your sectional.
Custom Cushions: If you want a perfect fit or unique fabric, custom cushions are the way to go. These are tailored to your sectional’s exact dimensions, ensuring a snug and comfortable fit. Custom cushions also allow you to choose fabrics that match your outdoor decor.
For a more budget-friendly option, consider making your own cushions. You can find tutorials online that guide you through the process of cutting foam to size and sewing covers. This way, you can select the exact fabric and thickness that suits your needs.
Design Considerations
- Comfort: Choose cushions with moisture-wicking properties to keep them dry and comfortable.
- Durability: Look for UV-resistant fabrics to prevent fading.
- Style: Match the cushion colors and patterns with your outdoor decor.
With these materials and design considerations in mind, you’re well on your way to building a sectional that’s both stylish and durable.
Next up, let’s dive into the actual building process!
Building Your DIY Outdoor Sectional
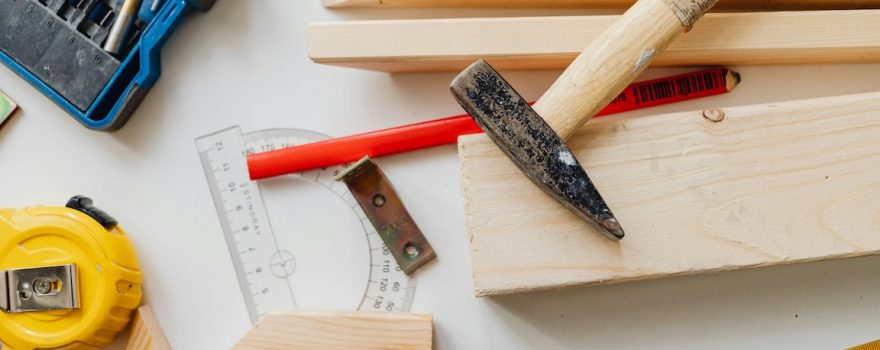
Tools and Supplies Needed
To build your DIY outdoor sectional, you’ll need a variety of tools and materials. Here’s a list to get you started:
- Mitre saw: For precise cuts, especially for angles.
- Palm sander and sandpaper: For smooth finishes.
- Pocket hole jig: Essential for strong joints.
- Cordless drill: For drilling and driving screws.
- Deck screws: 2″ screws work well.
- Wood glue: For added strength.
- Tape measure: For accurate measurements.
- Clamp: To hold pieces in place.
- Square: To ensure 90-degree angles.
You will also need the wood for the sectional. For example, for a 6′ couch, you’ll need:
- 4 of 10-foot long 2″ x 6″
- 1 of 10-foot long 2″ x 6″ for the armrest
- 4 deck spindles
- ~13 feet of deck boards
Your custom design may require different materials.
Before you know it, your DIY outdoor sectional will be ready for cushions and relaxation. Up next, let’s explore how to maintain your new outdoor furniture for years to come!
Tips for Maintaining Your DIY Outdoor Sectional
Regular Cleaning
To keep your DIY outdoor sectional looking fresh, regular cleaning is essential. Dust, dirt, and pollen can accumulate quickly. Use a damp cloth with mild soap to wipe down the wood and cushions about once a month. Avoid using harsh chemicals as they can damage the finish and fabrics.
Protective Covers
Investing in a good set of protective covers is a smart move. Covers shield your sectional from the elements, extending its lifespan. Make sure to choose covers that are water-resistant and UV-protected. When not in use, especially during storms or extended periods, cover your sectional to prevent wear and tear.
Seasonal Maintenance
Seasonal changes can affect your outdoor furniture. Inspect your sectional at the start of each season. Look for any loose screws, cracks in the wood, or worn-out cushions. Tighten any loose screws and reapply a coat of water-based polyurethane if needed. If you notice any damage, address it promptly to avoid bigger issues down the line.
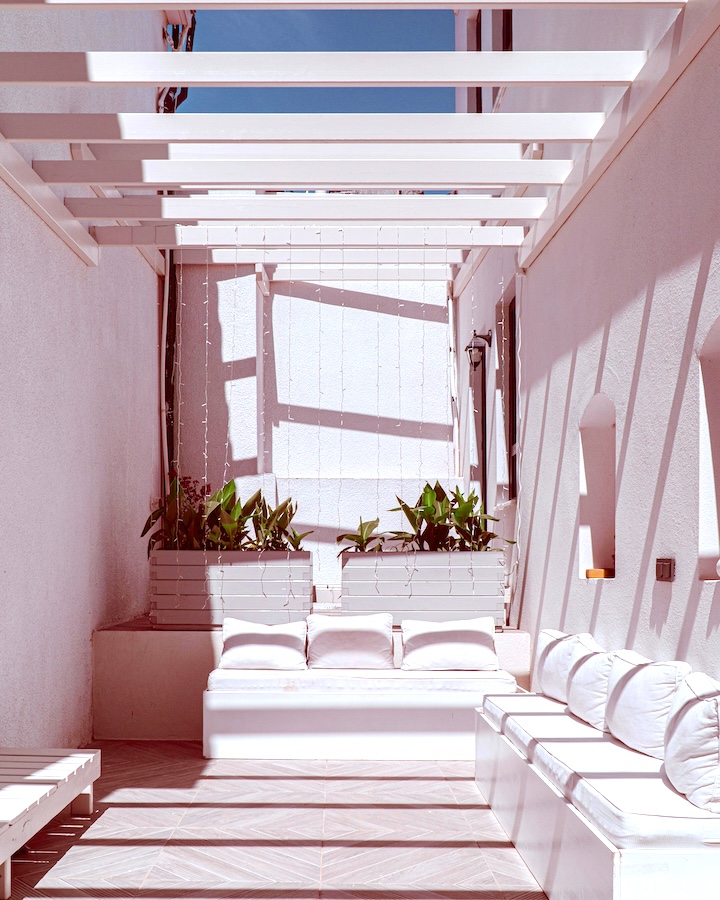
Covered Patio Placement
If possible, place your sectional in a covered patio area. This provides extra protection from rain and sun, reducing the amount of maintenance needed. A covered spot also makes your sectional more comfortable to use year-round, whether it’s sunny or rainy.
By following these tips, your DIY outdoor sectional will remain a cozy and inviting spot for relaxation. Up next, we’ll wrap up with some final thoughts on maximizing the value of your DIY project.
Your project starts at Builders Surplus
Building your own DIY outdoor sectional is a rewarding project that can transform your outdoor space into a cozy retreat. At Builders Surplus, we’re here to help you maximize the value of your DIY endeavors.
Our knowledgeable sales team is always ready to assist you in selecting the best materials and tools for your project. Whether you’re looking for durable wood options or you need advice on the perfect stain to use, we’ve got you covered.
By shopping at Builders Surplus, you’re not just buying materials; you’re investing in quality and expertise. Let us be your partner in turning your outdoor space into a beautiful, functional extension of your home.
Ready to start your next project? Visit our Outdoor Living section to get inspired and find everything you need! For more personalized assistance, don’t hesitate to call us at 866-739-1636 or stop by one of our stores.
Photo by Karolina Kaboompics
Photo by Tugce Nil