
DIY
The Finishing Touch: How to Install Quarter Round Like a Pro
TL;DR: How to Install Quarter Round
To install quarter round, measure each wall run, cut inside corners with a coped or 45-degree miter joint, cut outside corners at 45 degrees, and nail the pieces into the baseboard (not the floor) with 18-gauge brad nails every 12 to 16 inches. Finish by filling the nail holes, caulking the seams, and painting or staining to match your trim. Most DIYers can finish an average room in two to four hours with a miter saw, brad nailer, tape measure, and a little patience.
What Is Quarter Round and Why Does It Matter?
Quarter round is a small moulding shaped like a quarter of a circle when viewed from the end. It sits where your baseboard meets the floor, covering the expansion gap left around the edges of hardwood, laminate, and vinyl plank floors. That gap is necessary because flooring expands and contracts with humidity, and here in New England, with humid summers and dry, heated winters, that seasonal movement is very real.
Beyond hiding the gap, quarter round gives a room a finished, polished look. It also covers uneven spots where the baseboard doesn’t sit perfectly flush with the floor, which is common in older homes throughout New England. If you’re weighing your options, our guide to types of floor moulding explains how quarter round compares to shoe moulding and other profiles.
Ready to pick up quarter round for your project? Browse our moulding selection, or reach out to Builders Surplus with your questions. You can also give us a call at 866-739-1636.
Tools and Materials You’ll Need
Gather everything before you start so you’re not running back and forth mid-project:
- Quarter round moulding (buy 10 to 15 percent extra for mistakes and waste)
- Miter saw (a hand miter box works for small jobs)
- Coping saw (for coped inside corners)
- 18-gauge brad nailer with 1 1/4″ to 1 1/2″ brad nails, or a hammer and finish nails
- Tape measure and pencil
- Nail set, wood filler, and paintable caulk
- Fine-grit sandpaper
- Paint or stain to match your trim
Pro tip: Let your moulding sit in the room for 24 to 48 hours before you cut. It gives the wood time to adjust to your home’s humidity, which helps prevent gaps from opening up later.
Measure Each Wall Run
Measure along the bottom of the baseboard for every wall, and write each number down with a quick sketch of the room. Note which ends meet an inside corner, an outside corner, or a door casing.
A few measuring rules keep things simple:
- Inside corners: measure wall to wall; the piece will run into the corner.
- Outside corners: measure to the corner’s edge; the piece will extend past it once mitered.
- Door casings and cabinets: stop the quarter round where it meets the casing and finish the end with a return cut (more on that below).
For long walls, you may need to join two pieces. Use a scarf joint, which means cutting both ends at opposing 45-degree angles so they overlap. It hides the seam far better than a flat butt joint.
Cut the Corners
Corners are where quarter round installation either looks professional or looks rushed. Here’s how to handle each type:
| Corner Type | Cut | Tip |
| Inside corner | Cope, or two 45° miters | Coping hides gaps if walls aren’t square |
| Outside corner | Two 45° miters | Glue the joint for extra strength |
| Open end (at a casing) | 45° return cut | Glue a small return piece to close the end |
| Long wall seam | Scarf joint (opposing 45°) | Place the seam over a stud if possible |
Coping an inside corner: Cut the first piece square so it butts into the corner. On the second piece, cut a 45-degree inside miter, then use a coping saw to follow the curved profile line, back-cutting slightly. The coped end nests right against the first piece, and it stays tight even when walls aren’t perfectly square. For more angle guidance, see our walkthrough on how to cut moulding corners.
Always cut a little long and trim down. You can take material off, but you can’t put it back.
Nail It in Place
Here’s the most important rule of quarter round installation: nail into the baseboard, not the floor. Floating floors like laminate and vinyl plank need room to move. Nailing down into the floor pins it in place and can cause buckling or gaps.
Hold the quarter round snug against both the baseboard and the floor, then angle your brad nailer slightly toward the baseboard. Place a nail every 12 to 16 inches and one about 2 inches from each end. Go easy near the ends so the wood doesn’t split; pre-drilling helps with hardwood quarter round.
Fill, Caulk, and Finish
Once everything is nailed up, set any nail heads slightly below the surface and fill the holes with wood filler. Sand lightly once it’s dry. Run a thin bead of paintable caulk along the top edge where the quarter round meets the baseboard, and smooth it with a damp finger. Caulk along the floor is usually skipped with floating floors so movement isn’t restricted.
Finish with paint or stain to match your baseboards. Many homeowners pre-paint or pre-stain their quarter round before installing it, then just touch up the nail holes afterward. It’s faster and cleaner. If you’re refreshing more trim at the same time, our wall base moulding guide has ideas for pairing baseboards and quarter round.
Final Thoughts on Installing Quarter Round
Learning how to install quarter round is one of the most satisfying DIY skills you can pick up. It’s inexpensive, beginner-friendly, and makes a new floor look complete. Take your time on the corners, nail into the baseboard instead of the floor, and don’t skip the caulk and paint. Those details are what make the job look professional.
Get Quality Moulding at Builders Surplus
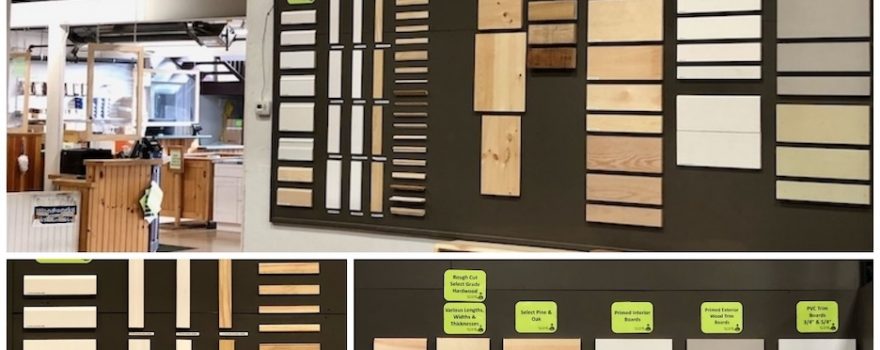
Builders Surplus carries one of the largest moulding and trim selections in New England, including quarter round, shoe moulding, and baseboards in a range of woods and profiles. Visit one of our locations in Warwick, West Warwick, and Central Falls, RI; Jewett City, CT; and Lunenburg, MA to see the selection in person. You can also reach out to Builders Surplus online or call us at 866-739-1636. Our team is happy to help you find the right trim for your project.
FAQ: How to Install Quarter Round
Do you nail quarter round to the floor or the baseboard?
Nail quarter round into the baseboard. Nailing into the floor can restrict the natural expansion and contraction of hardwood, laminate, and vinyl plank flooring, which can lead to buckling or gaps.
What size nails should I use for quarter round?
Use 18-gauge brad nails between 1 1/4″ and 1 1/2″ long. They hold securely without splitting the moulding and leave small holes that are easy to fill.
Should I cope or miter inside corners?
Coping is the better choice for most homes because it stays tight even when walls aren’t perfectly square. Mitered inside corners work fine in newer construction with true 90-degree corners.
What’s the difference between quarter round and shoe moulding?
Quarter round is a true quarter circle with equal height and depth. Shoe moulding is taller than it is deep, giving it a slimmer profile that sits closer to the baseboard. Both cover the expansion gap along the floor.
Should I paint quarter round before or after installing it?
Painting before installation is usually faster and cleaner. Once it’s installed, just fill the nail holes, caulk the top seam, and touch up with a small brush.